
Assembling a Basic Computer: Step-by-Step Beginner Guide
Introduction
Everyone is using computers nowadays for their studies, office work, gaming, watching videos, or for browsing the internet. But very few actually know what is inside a computer or how all those parts come together to create a working system.
When someone hears the term “computer assembly,” it may sound difficult or highly technical. In reality, the basic idea is much easier and simpler than most beginners think it could be. When we talk about assembling a computer, we simply mean connecting different hardware components correctly so that it functions smoothly.
Some people buy branded pre-built computers, while others choose to assemble systems using separate hardware parts. If we learn the basics of computer assembly, it helps us understand the internal functions of a computer instead of assuming it is just a machine with a screen.
Learning the basics is not rocket science. In fact, it’s so easy that even a beginner can learn it. All you need to learn is to understand how major components fit together and how they communicate.
In this article, we will explore the meaning of computer assembly, what important components are required, and the basic step-by-step process of assembling a computer, that too in a simple and understandable manner.
What Does “Assembling a Computer” Mean?
Assembling a computer means building a complete computer system by connecting individual hardware parts together.
Instead of buying a ready-made system, the user installs various components in the computer cabinet. After the components are correctly interconnected, the system can do things like run software, store files, and produce output on the monitor.
Simply, a computer cannot function with only one component. Every hardware component has its own specific function. As we all know, in computers, one component is responsible for processing, another for storing data, and some others help in displaying information on the screen. Assembly is essentially the process of putting all these components together in the proper way.
If we talk about beginners, learning assembly is not just about building a computer but also improving their overall understanding of computer hardware. It will also help them in basic troubleshooting.
For example, if a user understands where RAM or storage devices are connected, he/she will be more confident while upgrading or replacing parts in the future when required.
Basic Components Required for a Computer
Before starting the assembly process, it is important to know which components are necessary for creating a working computer system.
Main Internal Components
Important parts installed inside a computer cabinet are known as main internal components.
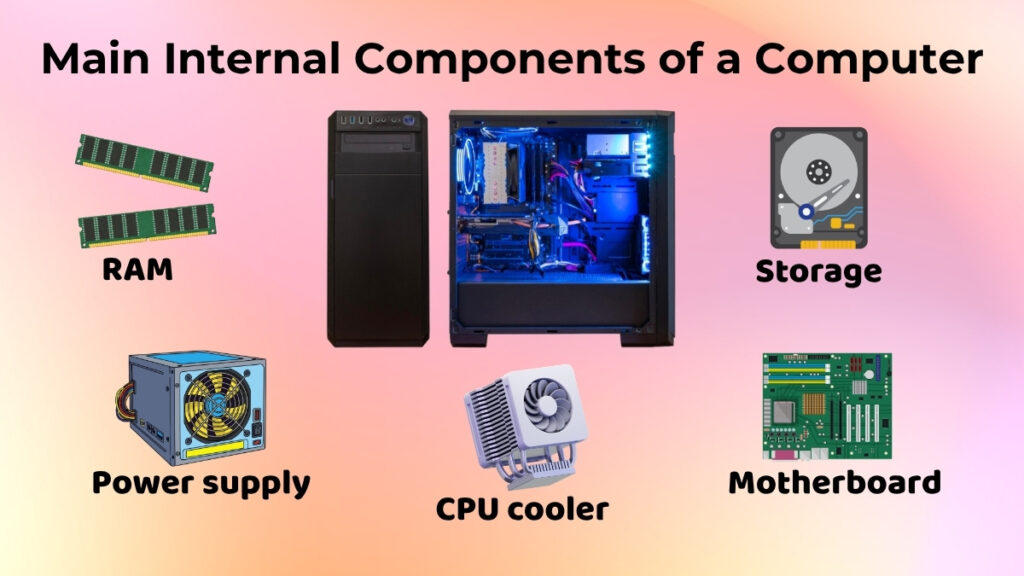
Central Processing Unit (CPU)
Many people refer to the CPU as “the computer’s brain.” Calculations, instruction processing, and system operation control are all done by it.
Whenever a user opens an application, plays a video, or uses software, the CPU helps in executing those tasks. Modern CPUs are more advanced than traditional ones and they are developed with cooling fans because processors generate heat while working.
Motherboard
The primary circuit board of a computer is referred to as the motherboard. It is directly or indirectly connected to every single component. It also acts like a communication centre where all the hardware components interact with each other. RAM, processor, storage devices, and power connections, all of them are attached to the motherboard.
RAM (Random Access Memory)
RAM is a temporary type of memory which is used by computers while running different applications.
It helps the system handle tasks smoothly while running multiple programs at the same time.
While multitasking, if a computer has low RAM, it may become slow or dysfunctional.
Storage Device
Storage devices are used for saving files, operating systems, applications, documents, photos, and videos.
Two common storage devices are:
-
HDD
-
SSD
SSDs are usually faster and they also improve system speed as compared to traditional hard disks.
Power Supply Unit (SMPS)
The SMPS is responsible for supplying electricity to all internal components.
Computers are unable to use electricity directly from wall sockets.
The SMPS then converts power into a usable form for computers and distributes it safely to all different hardware parts.
The system won’t start without proper power supply.
External Components
These are the devices that are connected from outside and they help users in interacting with the computer.
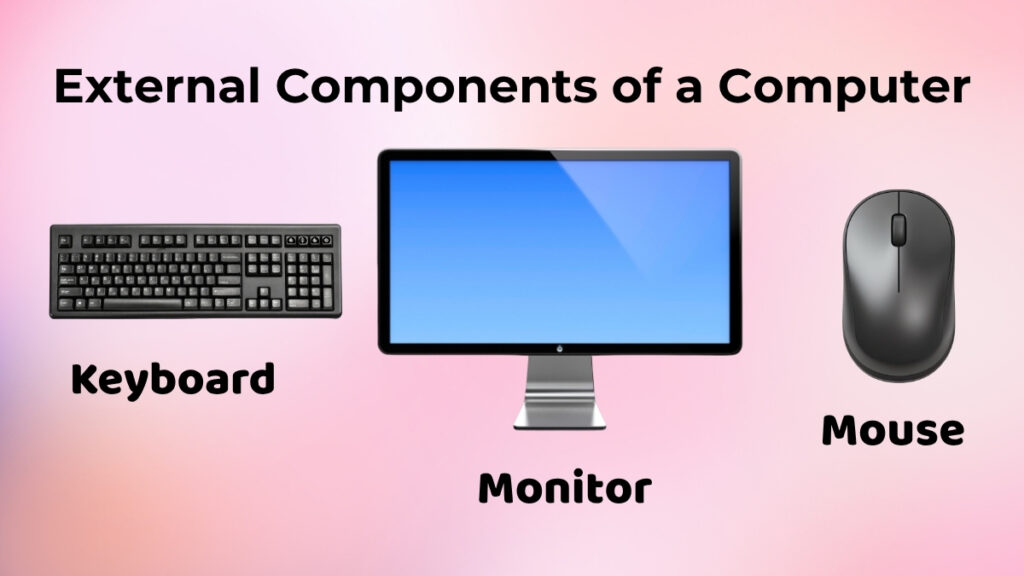
Monitor
The monitor is used for displaying visual output such as videos, applications, and desktop screens.
Users would not be able to see what the computer is doing, without a monitor.
Keyboard
The keyboard is used to type instructions, numbers, and letters.
It is one of the most widely used input devices.
Mouse
The mouse is used in order to move the cursor, click options, open files, and navigate through the system easily.
Nowadays, modern wireless mice and keyboards are also available.
Before You Start Assembling
Before the actual start of assembling a computer, a little preparation will make the process much easier and safer.
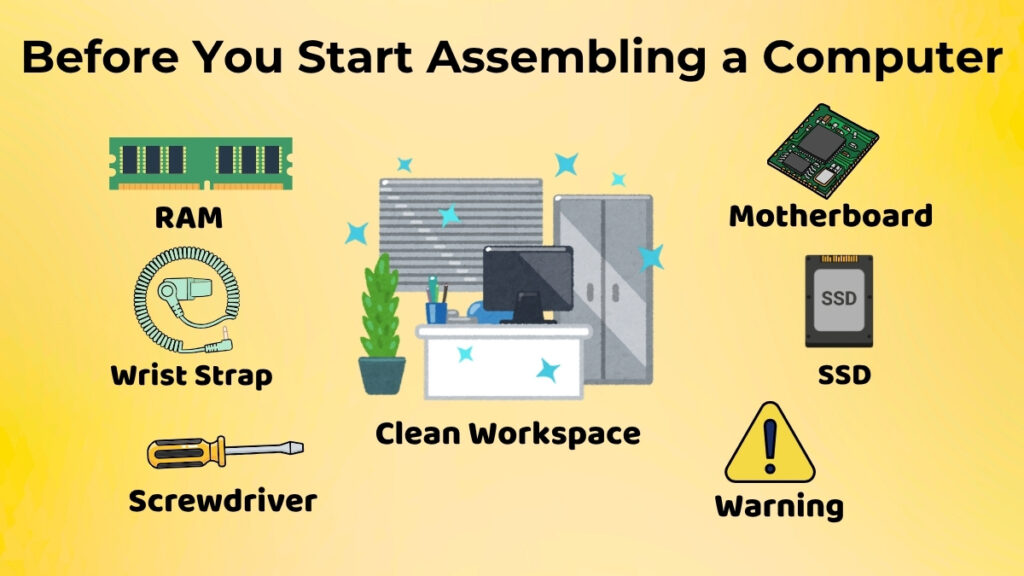
Choose a Clean Workspace
Always remember to work on a flat and clean surface with proper space.
If you use a crowded table, it can increase the chances of dropping or damaging any component accidentally.
Many people prefer assembling computers while standing beside a wooden table because metal surfaces can sometimes create static electricity issues.
Organize All Components Properly
Make sure to keep all screws, cables, and hardware parts arranged in an accessible manner before starting.
This will save your time during assembly and also reduce confusion in finding parts.
Handle Components Carefully
Remember that computer hardware parts are delicate and they should be handled with care.
Computer components may also contain sensitive chips or gold connectors, so avoid touching them unnecessarily.
Holding components from their edges is usually considered safer.
Avoid Static Electricity
Static electricity can accidentally damage sensitive hardware components.
Even though basic home assembly is generally safe, it is still better to avoid unnecessary contact with exposed electronic parts.
Anti-static wrist straps can also be used while assembling systems, and they are commonly used while doing it.
Basic Assembly Process (High-Level)
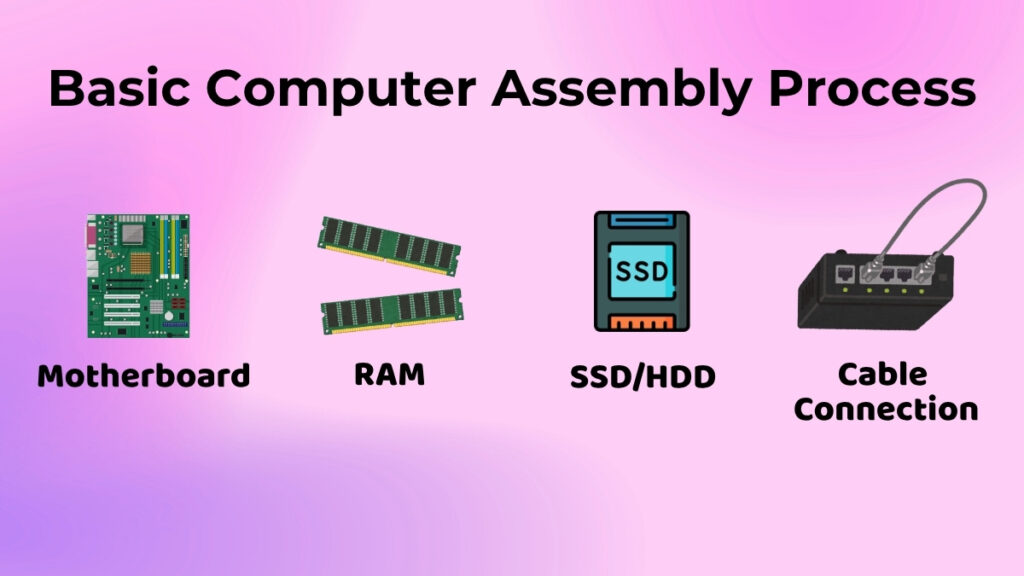
Now let’s move to the actual process. It involves connecting components step by step.
If you are a beginner, you first need to understand the basic flow more than memorizing technical details.
Placing Core Components
The first step you need to do is install the main hardware components inside the cabinet.
Installing the Motherboard
As we learned earlier, every component is connected to the motherboard and thus, it is usually the first one to be installed.
It is fixed very carefully inside the cabinet using screws.
Make sure to align it properly, as incorrect placement may later cause connection problems.
Installing RAM
After installing the motherboard, RAM sticks are inserted into RAM slots present on the motherboard.
Ensure it fits properly with gentle pressure.
If installed correctly, the small locking clips automatically snap into place.
Installing Storage Devices
Next storage devices like HDDs or SSDs are mounted inside their dedicated sections of the cabinet.
After that, cables are connected for power supply and data transfer.
Now, many modern cabinets are available in the market, which provide separate SSD slots for easier installation.
Connecting Essential Cables
After you put in all the hardware parts, the next thing you do is connect the cables.
Power Connections
You need to connect power cables from the SMPS to the computer parts like the motherboard, the storage devices, and the cooling fans.
If you do not connect the power cables properly, the computer parts will not work.
Data and Communication Cables
Some cables help move data between the computer parts.
For example, the storage devices connect to the motherboard using data cables.
Sometimes, if the cables are not connected tightly, the computer may not start up correctly.
That is why you need to check the cables when you are putting the computer together.
Connecting External Devices
When you are done with the inside of the computer, you can connect the external devices.
Monitor Connection
You need to connect the monitor cable to the display port.
When you turn on the computer, the monitor will show you what is going on inside the computer.
Keyboard and Mouse Connection
You can connect the keyboard and the mouse using the USB ports or the wireless receivers.
These devices help you control the computer.
Connecting the Power Cable
The last thing you do is connect the power cable to the computer.
Now the computer is ready for you to turn it on for the first time.
First Power-On Check
After you put the computer together, you need to turn it on to see if it works.
When you press the power button, the computer fans may start spinning and the lights may turn on. The monitor may show you some startup information.
These are all signs that the computer is working.
Sometimes people who are new to this get worried if the computer does not turn on right away.
Most of the time, the problem is a loose cable or the power is not connected properly.
If you check all the connections carefully, you can usually fix the problem.
Common Beginner Mistakes to Avoid
People who are new to assembling computers often make some mistakes.
If you can avoid these mistakes, you can save yourself some trouble.
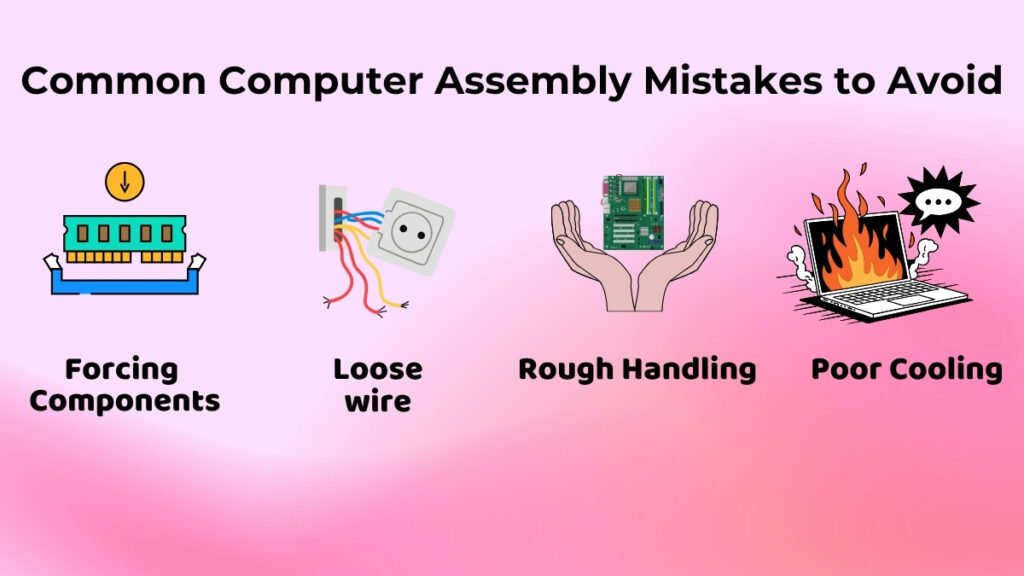
Forcing Components Into Slots
The hardware parts should fit together easily without you having to force them.
If something does not fit, you should check if it is in the correct place instead of pushing harder.
Loose Cable Connections
If the cables are not connected properly, the computer may not turn on.
You should always double-check the connections.
Rough Handling
If you drop the parts or touch the areas carelessly, you can damage the hardware.
You should always handle the parts gently.
Not Thinking About Cooling
Some people focus much on putting the computer together and forget about the airflow inside the case.
The cooling system helps the computer work properly and prevents it from getting too hot.
Is Assembling a Computer Good for Beginners?
Yes, putting a computer together can be a great way for beginners to learn.
It helps you understand how computer hardware works and how the different parts connect, along with some basic troubleshooting ideas.
It also helps you understand the inside of the computer.
Many students who are interested in technology start learning about hardware by assembling a computer.
Even if you never build a system, understanding the basics is still helpful when you are using a computer.
For example, it is easier to add memory, change storage devices, or clean the hardware once you know how the computer is put together.
Conclusion
Let’s conclude the whole article. Assembling a computer doesn’t involve any rocket science, it simply means combining multiple hardware parts into a complete working system.
This process involves stages such as installing important internal parts, connecting cables properly, and attaching external devices like the monitor, keyboard, and mouse.
Users do not need to be expert-level technicians to understand the basics. If users carefully handle components and follow simple step-by-step learning, anyone can develop a good understanding of how computers are assembled and how different components work together to make the system function properly.